In this entry, we will show you how to create different types of UI components.
Generating your files
A swift introduction to the UVKBuildTool
The UVKBuildTool is a
custom build tool we built to generate production builds, source files
and more. The tool binary is located under the
UVKBuildTool/build directory. Running it with the
--help argument shows you the different options you have on
hand:
    --generate <project path> - Regenerates all required generated files for the given project
    --install <project path> - Generates the project files when installing for the first time
    --build <staging path> <installation-path> <project path> - Bundles the application and compiles it for production
The following arguments generate source files for UI components:
    --inline <name> <project path> - Creates an inline component
    --window <name> <project path> - Creates a window widget
    --title-bar <name> <project path> - Creates a titlebar widget
As you can see from the comments, the first flag
--generate regenerates the files of a project. This is
necessary for applying changes to project file templates, but most of
the time we don't break the API, so you won't use it frequently.
The --install command is used to generate project files
for first-time installation. You shouldn't run this alone, but rather
use the create-project.sh script to create a project.
The --build argument builds a given project for
production.
Finally, we have the 3 component commands; when given a name and a path to a project, they generate different components:
--inlinefor creating inline components--windowfor creating window components--title-barfor creating title bar components
Component types
There are 3 component types:
--inline--window--title-bar
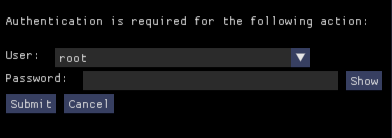
Inline components are ones that are drawn directly to the framebuffer, just like how standard applications render UI. Here is an application that uses inline components:
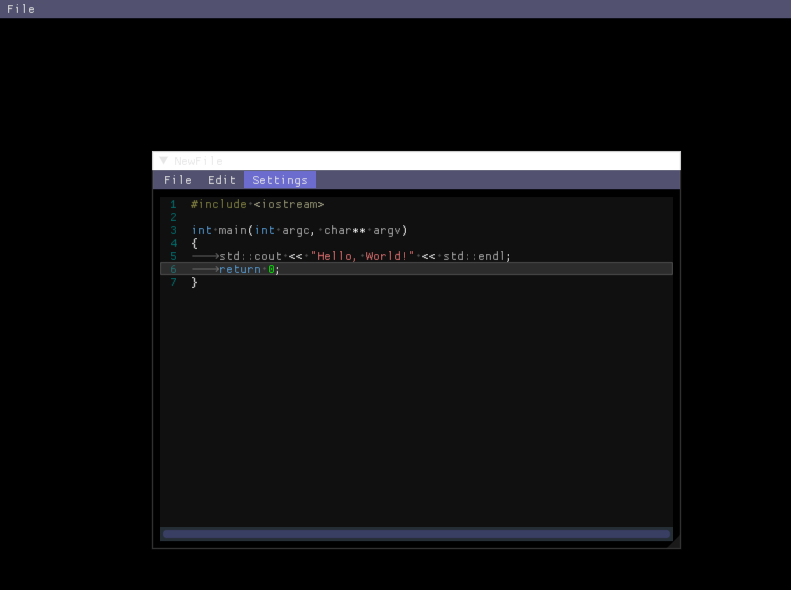
Window components are components that are drawn inside separate windows. These windows can be docked, dragged out of the main window and moved by the user to create their own layout. Below is a window in floating mode:
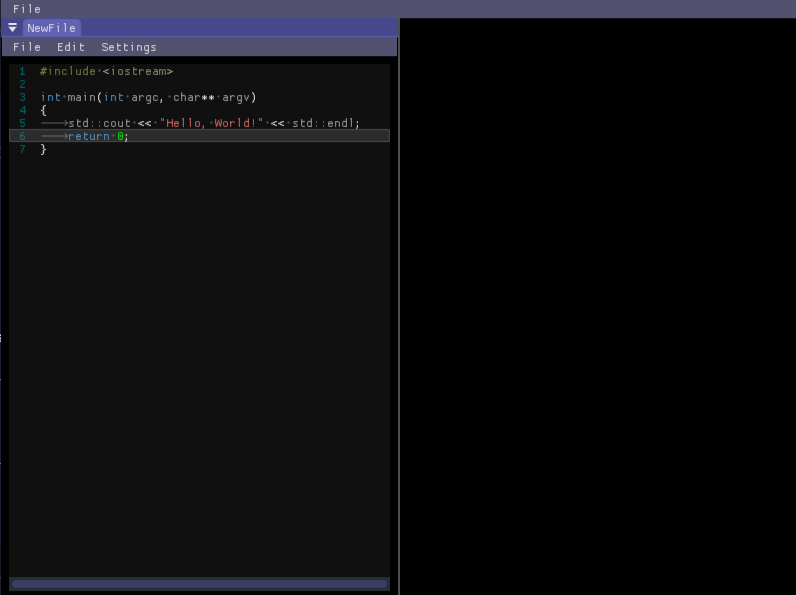
Here is a window that is docked to the side:
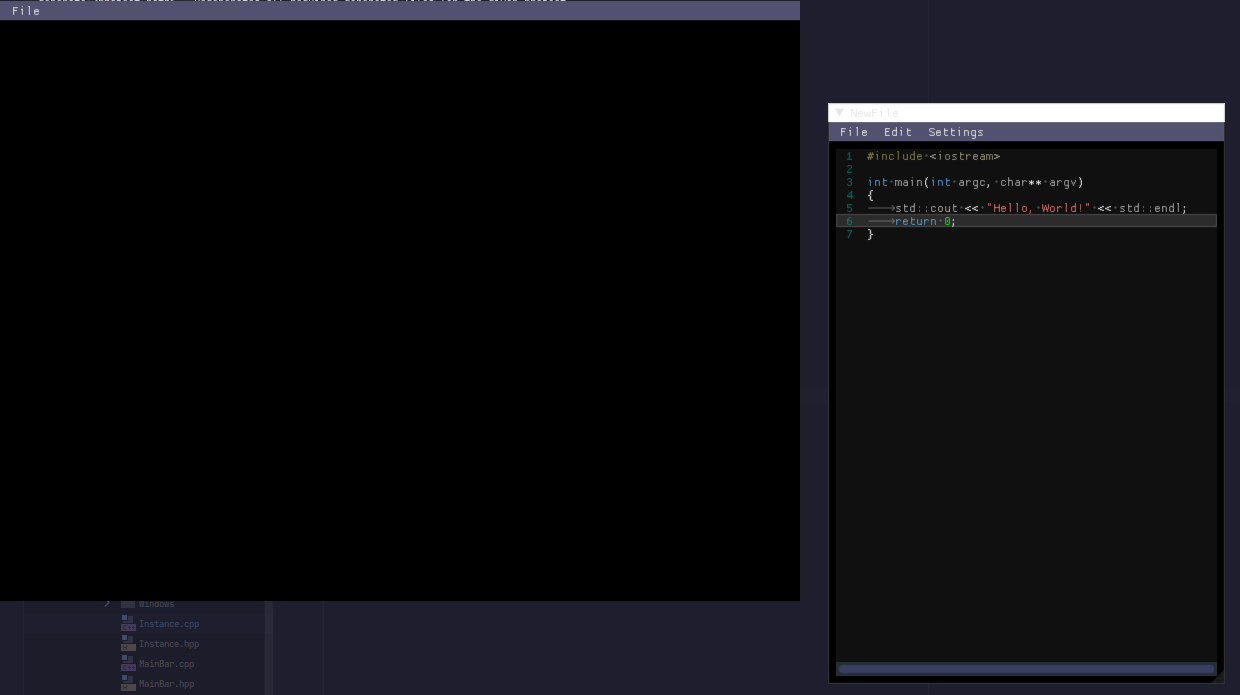
Here is a window that is rendered outside the main window:
Finally, title bar components are components that render the main title bar, which can be seen at the top of the window in the window component examples.
Working with UI components
After you have generated your components with the
UVKBuildTool, you can now start using them. The header file
of a component looks like this:
#pragma once
#include <Framework.hpp>

namespace UntitledTextEditor
{
    class UIMGUI_PUBLIC_API Exit : public UImGui::WindowComponent
    {
    public:
        Exit();
        virtual void begin() override;
        virtual void tick(float deltaTime) override;
        virtual void end() override;
        virtual ~Exit() override;
    private:

    };
}
It contains the essential event functions: the constructor,
destructor, begin, end and tick
functions. Here is information on them:
begin- gets called when the application is openedtick- gets called every frame and takes thefloat deltaTimeparameter that is equal to the current delta timeend- gets called when the application closes or the widget is destroyed- The constructor - Should contain variable initialisation code (event safety is unknown and depends on how you wrote your application)
- The destructor - Should contain cleanup code
Keep event
safety in mind and preferably call most framework-dependent code in
the begin, end or tick
functions.
Since the tick function gets called every frame, you
should use it to render dear imgui code.
Writing a Hello World application
First, generate an inline class:
cd UVKBuildTool/build
https://madladsquad.com/UVKBuildTool --inline hello .https://madladsquad.com/.https://madladsquad.com/Projects/YourProjectNameHere
Next, refresh your CMakeLists.txt file under your
project directory and enter the Source folder. The
hello.cpp and hello.hpp headers will have been
generated.
Open hello.cpp; it should look like this:
#include "hello.hpp"

Example::hello::hello()
{

}

void Example::hello::begin()
{
    beginAutohandle();

}

void Example::hello::tick(float deltaTime)
{
    tickAutohandle(deltaTime);

}

void Example::hello::end()
{
    endAutohandle();

}

Example::hello::~hello()
{

}
In the tick function, add the following code so that it
looks like this:
void Example::hello::tick(float deltaTime)
{
    tickAutohandle(deltaTime);
    ImGui::Text("Hello, World")
}
Compile your application and run!
Oh... there is no text here. That's because you haven't initialised the framework with your component. The next wiki entry shows you how to do that!
Event safety
The begin and tick members are flagged as
All ready and end is flagged as
Pre-destruct. The rest are flagged as
Any time.
C API
CComponentData
and CComponentData_P
The UImGui_CComponentData is only used when initialising
a component from C. It looks like this:
typedef struct UImGui_CComponentData
{
    UImGui_ComponentState state;
    void* context;
    size_t contextSize;

    UImGui_String name;
    uint64_t id;
} UImGui_CComponentData;
These variables will be copied into the class.
The UImGui_CComponentData_P struct is almost the same as
the UImGui_CComponentData struct, except that all variables
are pointers and it is missing the name string. It looks
like this:
typedef struct UImGui_CComponentData_P
{
    UImGui_ComponentState* state;
    void** context;
    size_t* contextSize;
    uint64_t* id;
} UImGui_CComponentData_P;
This struct is used to give a handle to the same internal variables that are part of the given component.
Creating a component through the C API
All components have the following functions:
UImGui_X_makeCXComponentUImGui_X_getCXComponentDataUImGui_X_getCXComponentNameUImGui_X_destroyCXComponentName
Here, X is one of the following:
TitlebarWindowComponentInline
In this example, we'll be using an inline component, but the setup is the same with other components. The names are just changed in the way specified above.
To create an Inline component, call
UImGui_Inline_makeCInlineComponent, which looks like
this:
UImGui_CComponentHandle UImGui_Inline_makeCInlineComponent(UImGui_ComponentRegularFun construct,
                                                           UImGui_ComponentRegularFun begin, UImGui_ComponentTickFun tick, UImGui_ComponentRegularFun end,
                                                           UImGui_ComponentRegularFun destruct, UImGui_CComponentData data);
It takes 5 function pointers, 4 of type
UImGui_ComponentRegularFun and 1 of type
UImGui_ComponentTickFun. The last parameter is a struct of
type UImGui_CComponentData, which will define the data of
the class.
A UImGui_ComponentRegularFun function expands to
void(*)(UImGui_CComponentData_P*), while
UImGui_ComponentTickFun expands to
void(*)(UImGui_CComponentData_P*, float).
These are the functions' event placements:
construct- Called in the constructorbegin- Called on begin eventtick- Called on tick eventend- Called on end eventdestruct- Called in the destructor
Finally, the function returns a component handle of type
UImGui_CComponentHandle. You need to store this handle to
interact with this component.
Other functions
There are 2 data-related functions that can be used on any component:
UImGui_X_getCXComponentData- given a valid handle, returns a pointer to theUImGui_CComponentData_Pstruct of the classUImGui_X_getCXComponentName- given a valid handle, returns the name of the class as anUImGui_String
There is also the UImGui_X_destroyCXComponent function,
which, given a handle, deallocates and destroys the component.
- Home
- Beginner content
- Install guide
- Creating and using the UI components
- The Instance
- The Init Info struct
- Building better titlebar menus
- Textures
- Logging
- Unicode support
- Additional features
- Client-side bar
- Custom type definitions
- Memory management
- C API development
- Config files and Folders
- Interfaces
- Internal Event safety
- Customising the build system
- Modules system
- Collaborating with others
- Advanced content
- Loading dynamic libraries at runtime
- Understanding the library layout
- Compilation mode modifiers
- Supporting plugins
- Production export and deployment
- OS integration tips
- Targeting WASM
- Using a custom rendering engine:
- Using a custom windowing backend:
- Developer and contributor resources
- Misc